Translate

Monday, July 26, 2010

Problem solving

Two months ago I had a wonderful opportunity to take a class with Hadar Jacobson. I admire her work and the way she mixes the different types of metal clays.

During our class I made a set of earrings combining copper and silver clay but when I fired them I noticed they were to heavy to wear as earrings. I even wore them to see if I will be able to use them as earrings before thinking in doing something different with them. 

Sadly for me, they were very heavy, then I took this opportunity to think about how will I transform them into a different piece of jewelry.

After a month of not thinking about them , one day I just took them out of my box and I made two necklaces with them.

I am happy with the outcome.


Friday, July 16, 2010

Green Salsa Chicken Tamales

Tamales are made from masa dough filled with meat and vegetables or fruit and wrapped in a corn husk or banana leaves and steamed.


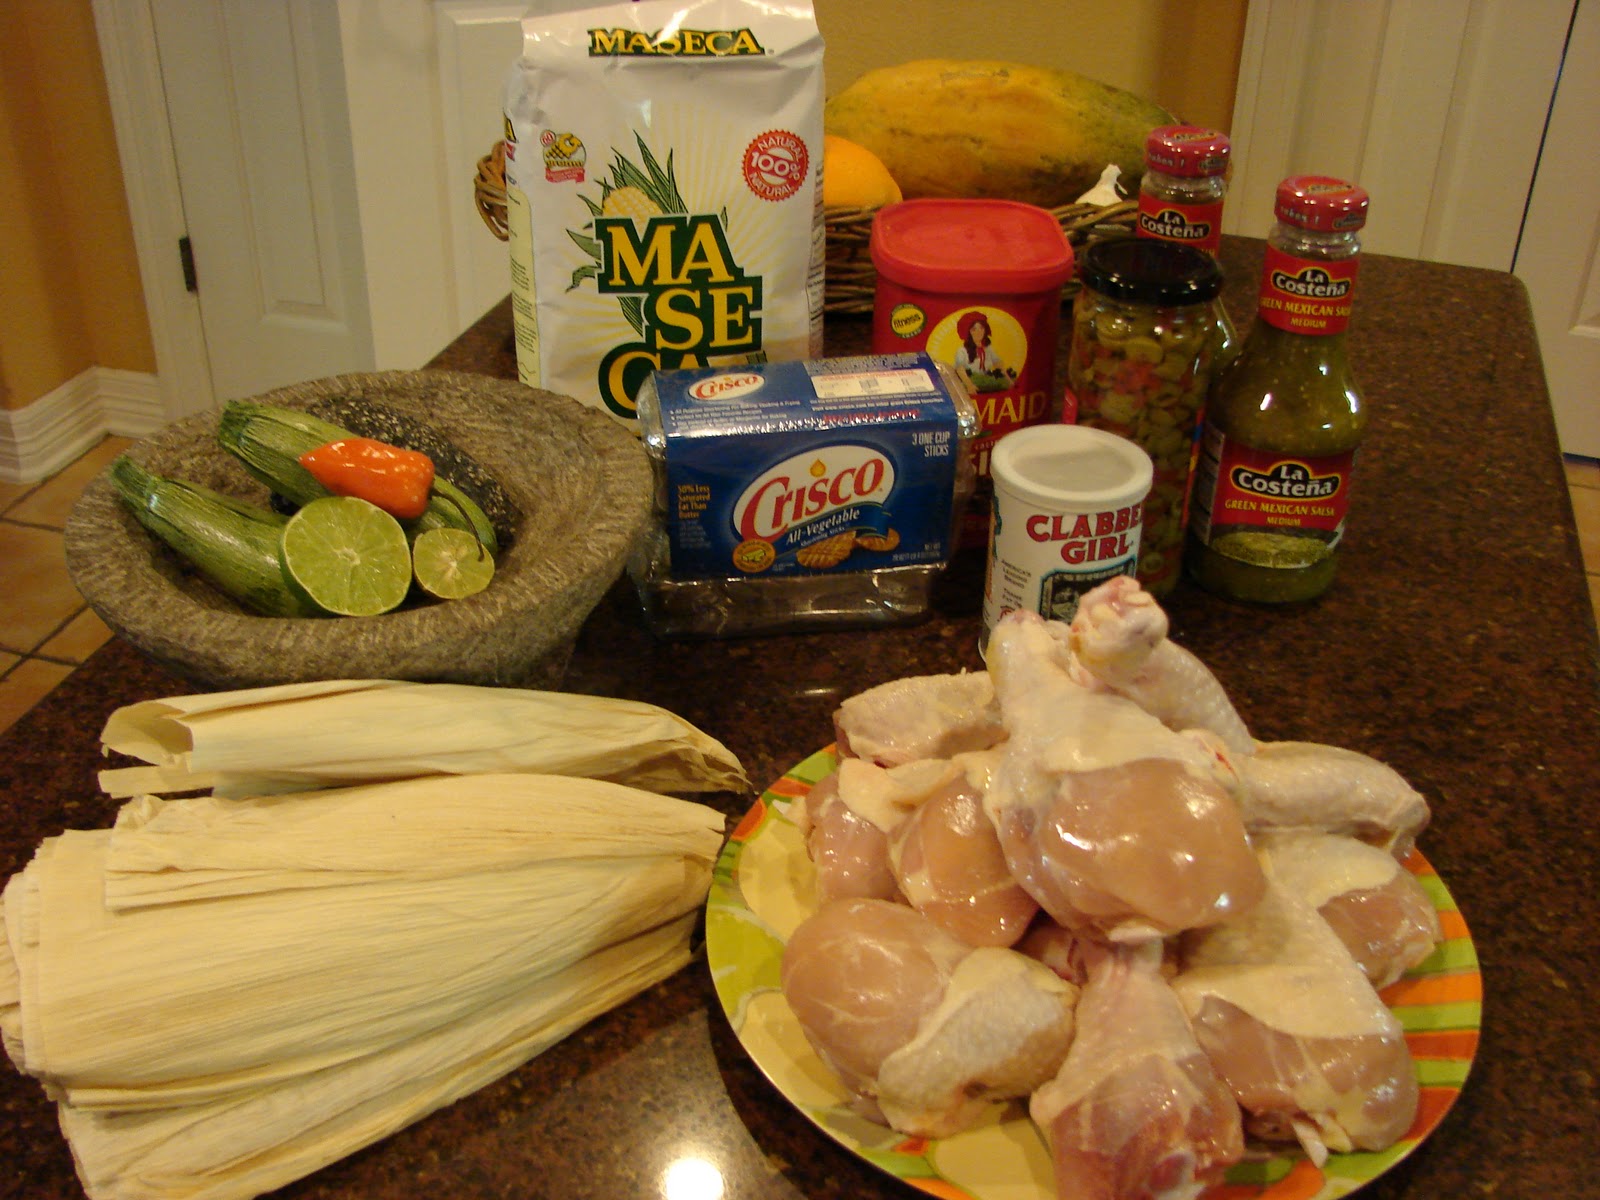
Ingredients :

8 cups of Maseca corn masa mix.
8 cups of chicken broth mixed green salsa.
1 1/2 cup of CRISCO vegetable shortening.
2 bottles of green salsa.
2 Tsp. Baking powder.
1 Bag of corn husks.
10 to 15 Chicken legs or 1 1/2 Rotisserie chicken.
1 Jar of pimiento stuffed olives.
1 cup of raisins.
Olive oil.
Salt.


Soak the cork husks in warm water until soft
If you choose to boil in water the chicken legs, take the legs out of the broth and save the liquid to use in the corn masa mixture.
In a mixing bowl, blend the Maseca corn masa mix, crisco vegetable shortening, warm chicken broth with green salsa, baking powder and salt to taste.
You will obtain a consistent mixture and the corn masa will be soft.
In a pot with some olive oil add the shredded chicken, a bottle of green salsa, olives and raising.
Add some chicken broth and salt if needed. 


Spread the masa evenly over the corn husk, after that you have to add some of the chicken mixed with olives and raisins on top of the masa.


Fold the sides of the corn husk to center over the masa so that they overlap to make a package(tamale.) Fold the empy part of the husk under so that it rest against the side of the tamale with a seam.


Place the tamales in a steamer and cook them for about 35 to 40 minutes. The tamales will be cooked when they separate easily from the corn husk.
Enjoy !!!! ;-)

Thursday, July 15, 2010

Introduction to Bronzclay class.

I had the wonderful opportunity to teach a 5 week Introduction to Bronzclay class at the Southwest School of Art and Craft in San Antonio, Texas.
The class was focus on introducing Bronze Metal clay to the students and we all had a fantastic time, I love teaching and they were such a great group of students.

Some of my students had never work with any type of metal clay and it was really good to have the opportunity to showed them this wonderful new medium. They were very enthusiastic and eager to learn and I was very happy to see their wonderful creations.

I like to give my students the freedom to create whatever they want, I am always by their side in case they need some help or if they want me to give them a design idea. What I really enjoy is to see their own creative voice and for them to realize that they do have one.

I will be teaching another class for the next semester and I hope I will see some of them again and have the experience to meet new students and make them fall in love with metal clay as I am.

Here are some of the pieces my very talented students made during the class.


Monday, June 21, 2010

I am a cover girl !!!!

I have the honor to be in the cover of issue number 4 of this wonderful magazine dedicated to 
the metal clay community.

Metal Clay Artist Magazine is the first print magazine created by metal clay artists for the metal clay arts, it has information and projects for all levels of experience. The magazine features a wide range of metal clay-related content and has an international focus, with content, subscribers and advertisers from around the world. 

Thank You Jeannette Froese LeBlanc, founder of the magazine, and all her staff for this wonderful honor !

Love,
Lorena

Tuesday, May 25, 2010

Etsy Metal Clay Charms Swap are here!!!

Finally ! I have all the charms with me and they all are beautiful.
Thanks to all my team mates from Etsy Metal Clay Team who participated in the swap this year.
I love how the bracelet looks and I will wear it with pride and love for all of you.

Saturday, May 22, 2010

Art in the Garden


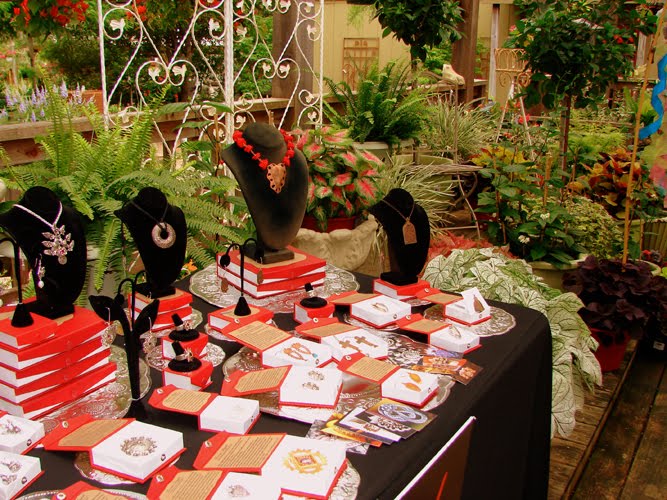
Today I woke up at 6 am to start getting ready for a show. I was very excited because it was going to be my first show outdoors and the place is so beautiful.
I was fortunate to be part of this art show with some other wonderful artists from the area. The location of the event was a beautiful nursery here in San Antonio, Texas called "Shades of Green."
Since I met Roberta Churchin and all the people that works in there I knew the show will be a great experience, they were so nice to me all the time.
The show was great and I met wonderful artists and people.
Thank You Roberta, Donna and all the people that works at Shades of Green for such a wonderful event.

If you live in the area you have to go visit this wonderful nursery.

Monday, May 17, 2010

Hadar Jacobson's Workshop

I'm a big admirer of Hadar Jacobson's magnificent work in metal clay. She has a unique and wonderful style that it's very inspiring.


I always knew one day I will meet her and see her work in person and that day became reality this past weekend. She came to San Antonio, Texas to teach a workshop and I signed up for it as soon as I found out.

Her work is beautiful and I was so excited to see it !  The craftsmanship and artistic style in her pieces is fantastic and she is a very sweet and kind person. Listening to her talk about her big passion for metal clays and all the experimentation she has done and continues to do, was the best part of the class.

The first project we did was to create a piece with her copper clay leaving in our designs little holes that we will  use after the piece was fired to add our silver clay details like as if we were doing a rivet. This technique is called hot riveting because we fired the silver clay with a torch into our copper piece that was already fired in the kiln.

I really like this technique but after I fired both clays I did notice my silver pieces will be to heavy for my earrings. I have a better understanding now, next time I will put together a better proportioned piece.
In this photo you can see the front and back side of the earring. I hand carved the copper clay piece first, and hand formed and carved the tree trunk and leaves. This copper piece was fired in the kiln and after that we cleaned it and started to add the silver. I hand formed the bird and flowers letting them dry, then I added fresh silver clay into the holes of  the copper background to start creating the rivet,  and then added the dried silver pieces with their back parts pressing them in between the fresh clay in the holes.

Our last project was to inlay bronze clay with copper clay. In this technique we fired the two clays at the same time in the kiln.  

I really enjoyed the class and learning how to finish up the pieces. I usually do not use this type of finishing in my work and it was very interesting to see how she does it.


It was great to meet new friends and see old friends again during this weekend.
I was specially happy to see Vickie Hallmark, she is such a fantastic artist and person.
Love you Vickie !! You are such a strong woman !


Love,
Lorena


Related Posts Plugin for WordPress, Blogger...